Cake shaped like a yule log, or Bûche de Noël, is a French Christmas tradition that started as a pre-medieval Pagan ritual of burning a log to symbolize the rebirth of the sun. Today, it’s a tasty way to celebrate the promise of sunnier winter days ahead. Thank you, pastry chefs, for these delicious French holiday cookies!
So, what is the difference between a Yule log and a Bûche de Noël? A Yule log refers to the old custom of burning a large wooden log during winter solstice celebrations, while a Bûche de Noël is the French dessert inspired by that tradition—a rolled sponge cake made into yule log cookies.
These pinwheel-style treats take a cue from the traditional cake, but they’re bite-sized. Chocolate ganache included, mais oui.
How To Make Bûche de Noël Cookies
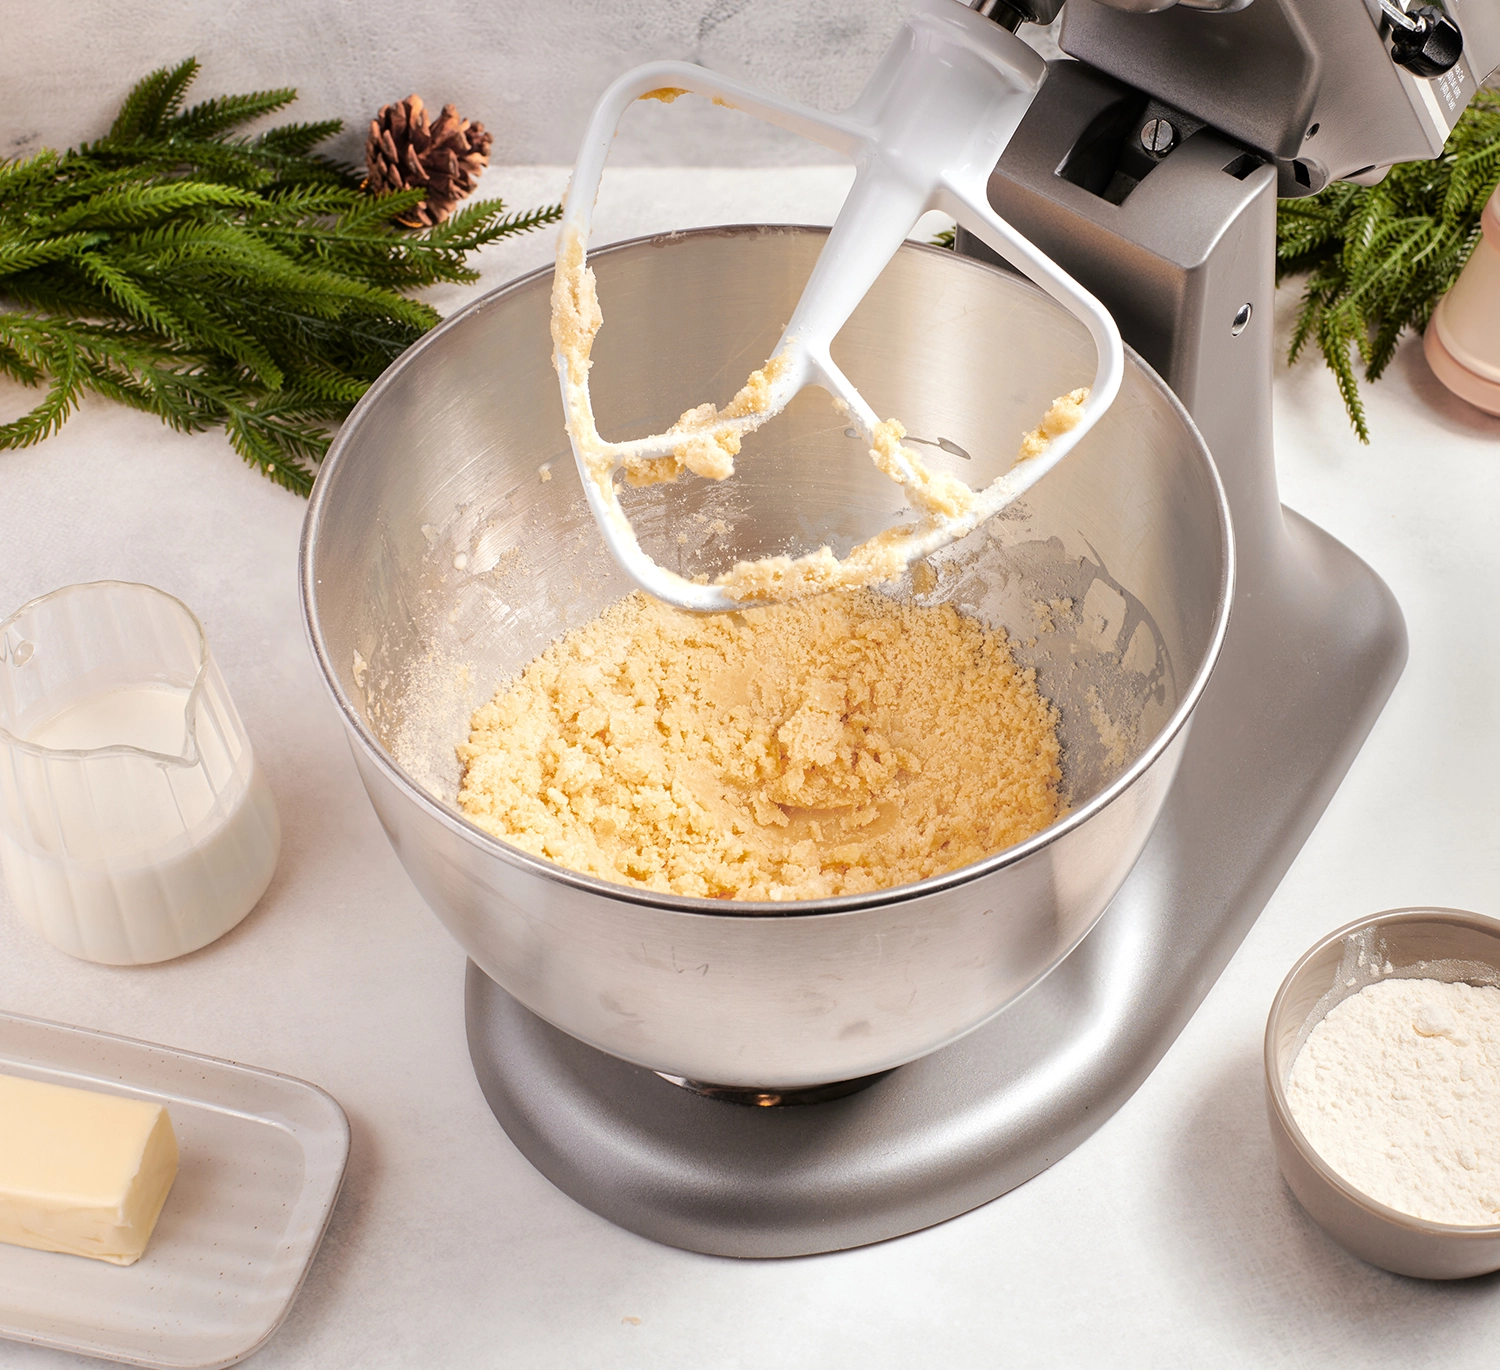
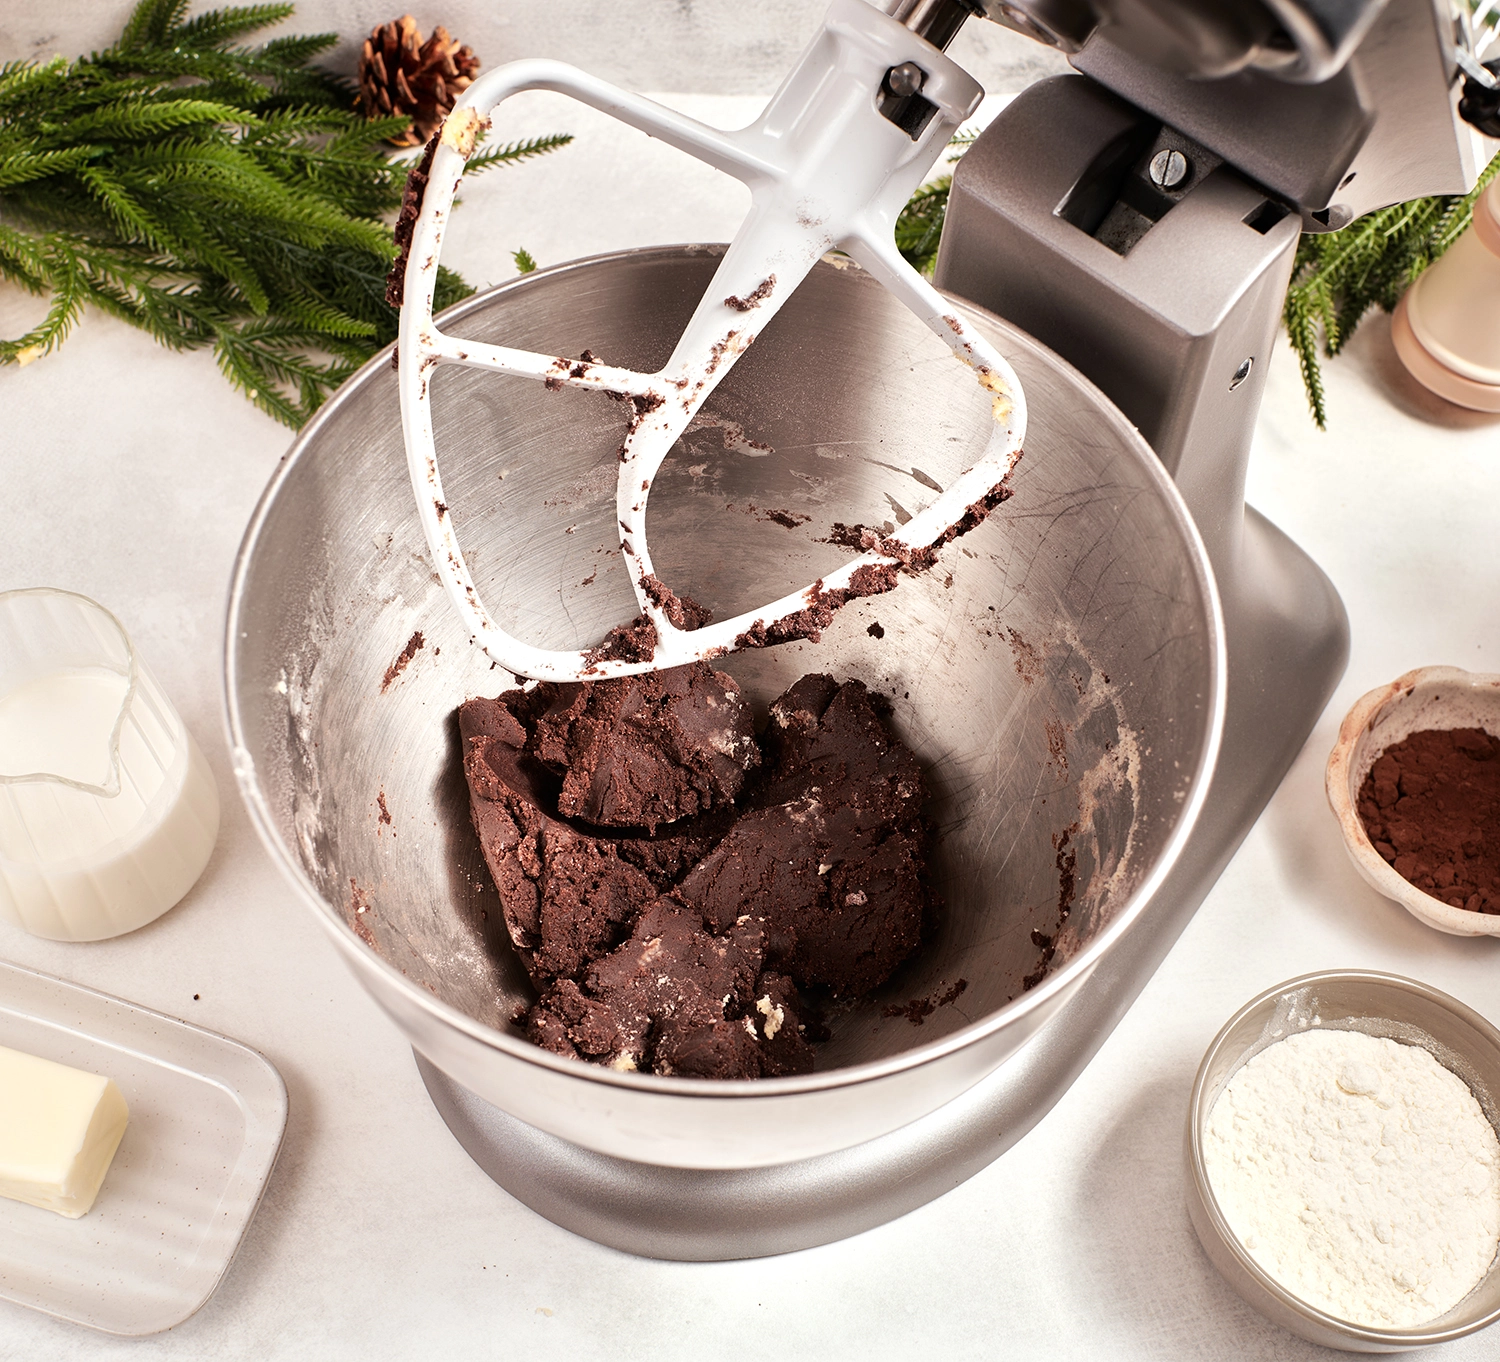
Start by preparing two doughs—one flavored with peppermint and vanilla, the other rich with cocoa. Mix butter, sugar, and extracts until smooth, then blend in the dry ingredients and cream until a soft dough forms. Shape each dough into rectangles, wrap, and chill until firm. This step sets the stage for a festive Bûche de Noël cookies recipe, capturing the charm of the traditional holiday cake in bite-sized form.
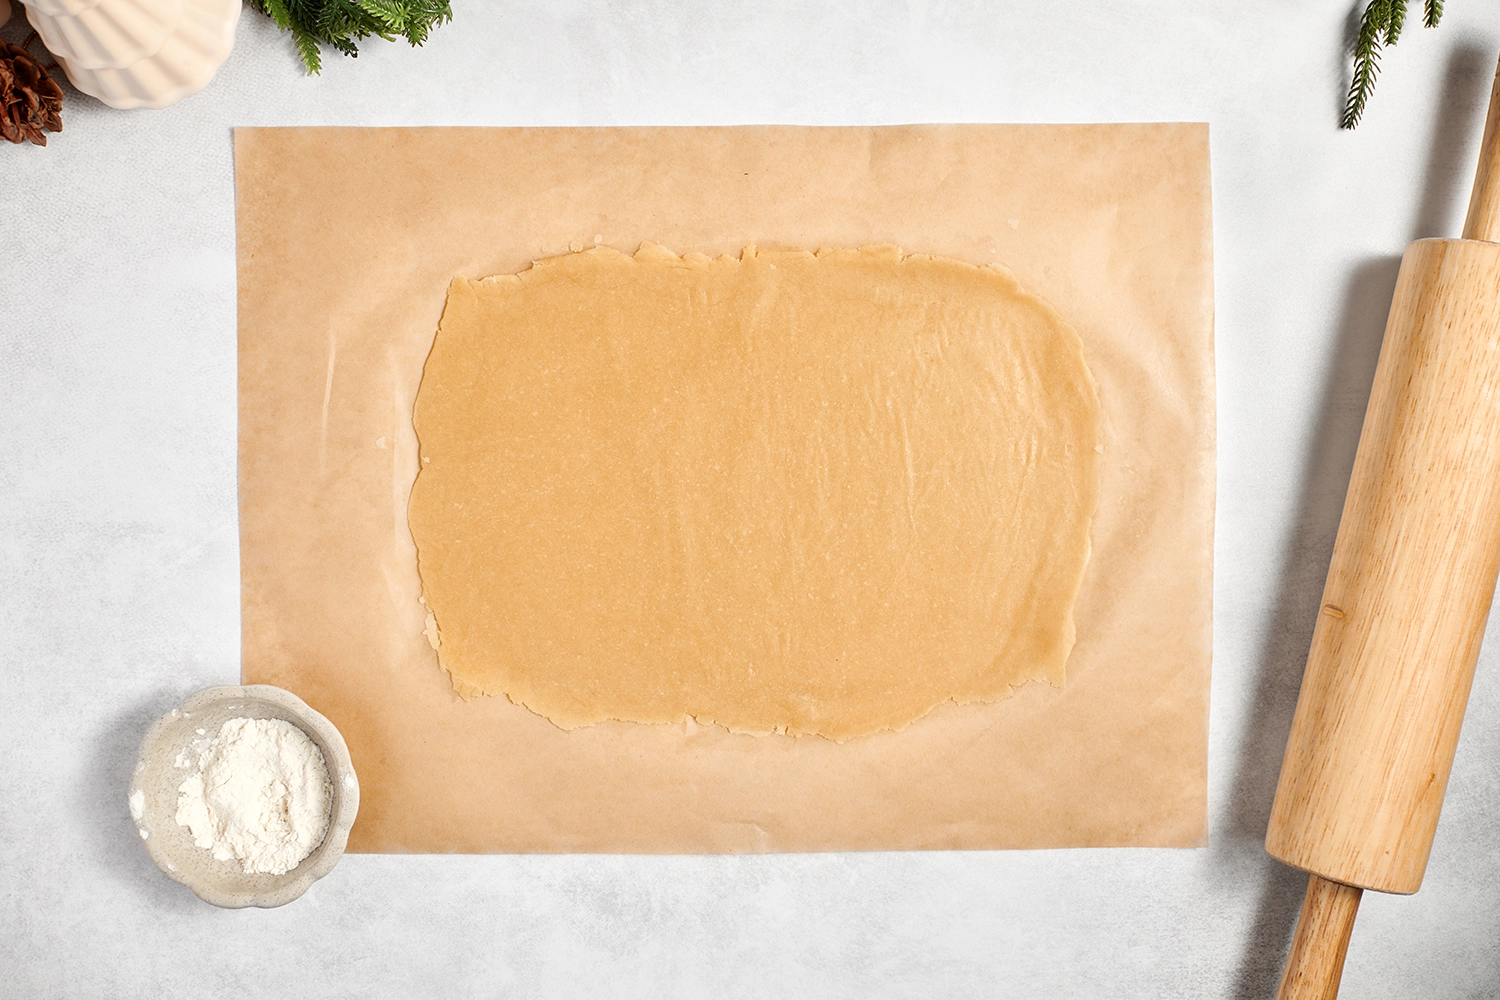
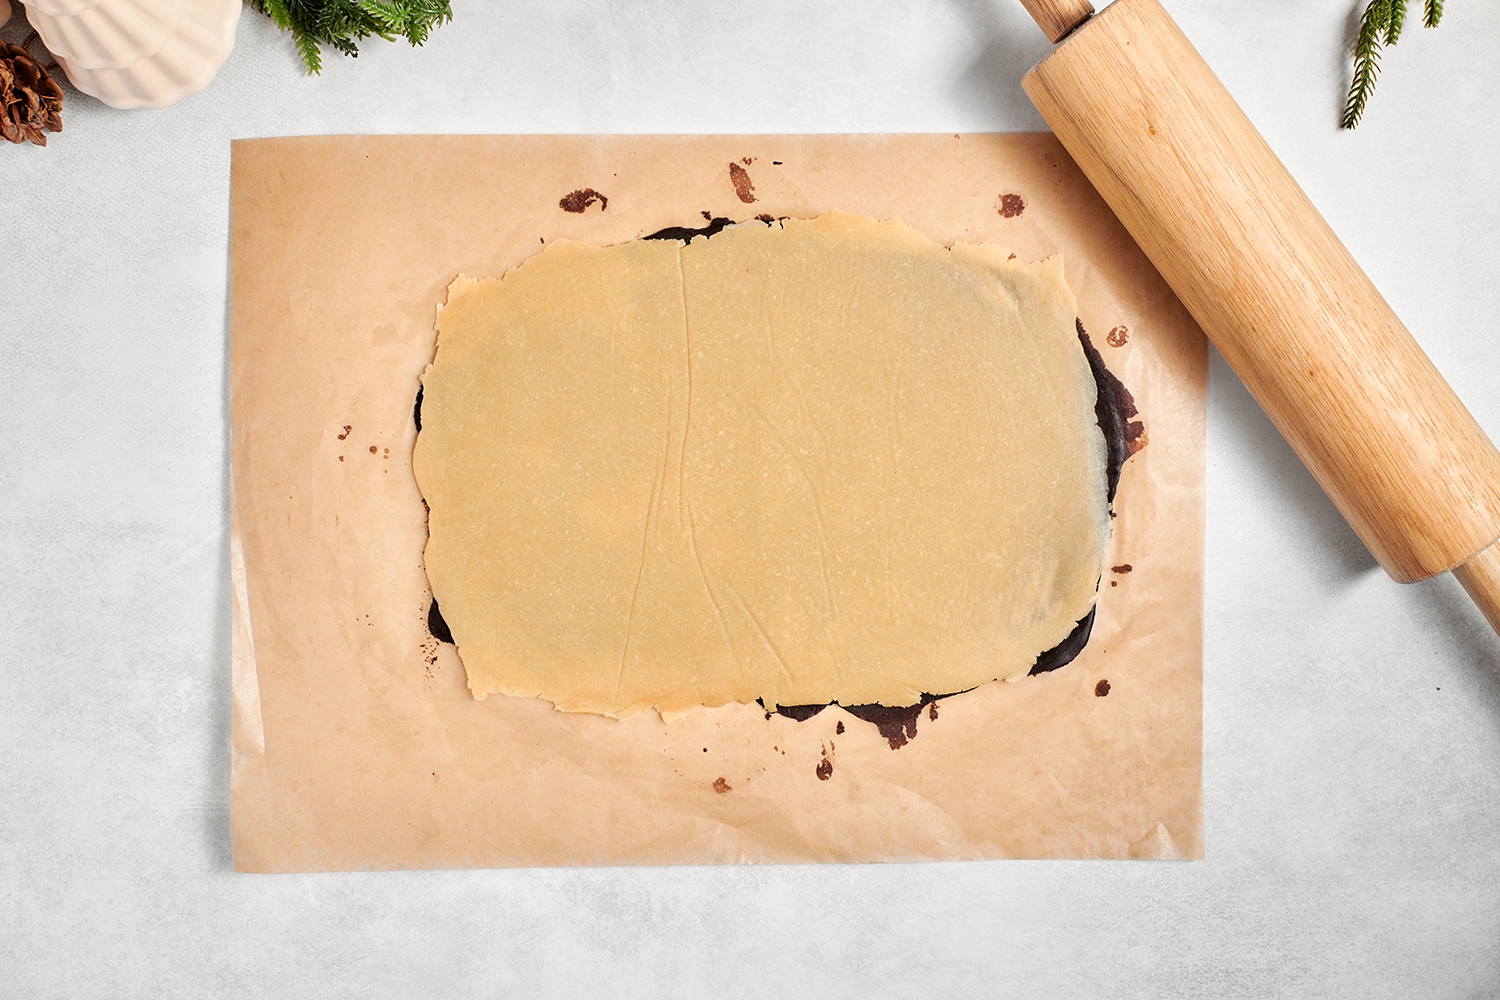
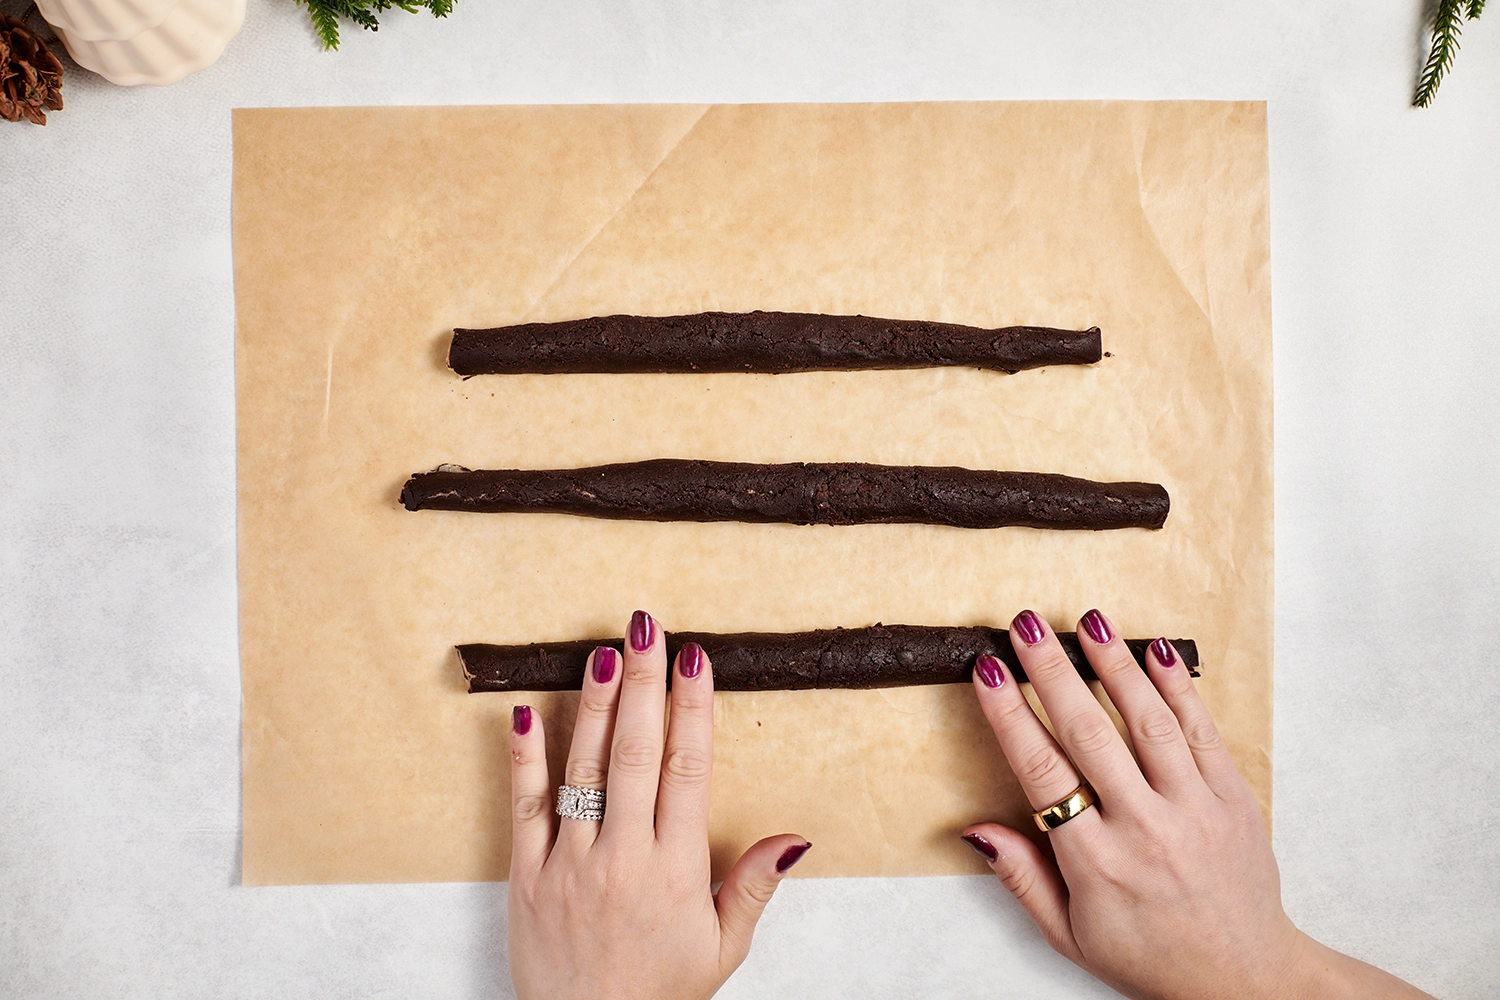
Once chilled, roll out the vanilla and chocolate dough into even rectangles. Stack the vanilla layer over the chocolate, roll them lightly together so the layers stick, and then slice into long strips. Roll each strip into a small log to create the pinwheel effect. Chill briefly before cutting into bite-sized pieces. Bake until the vanilla dough just begins to turn golden, then cool completely on a wire rack.
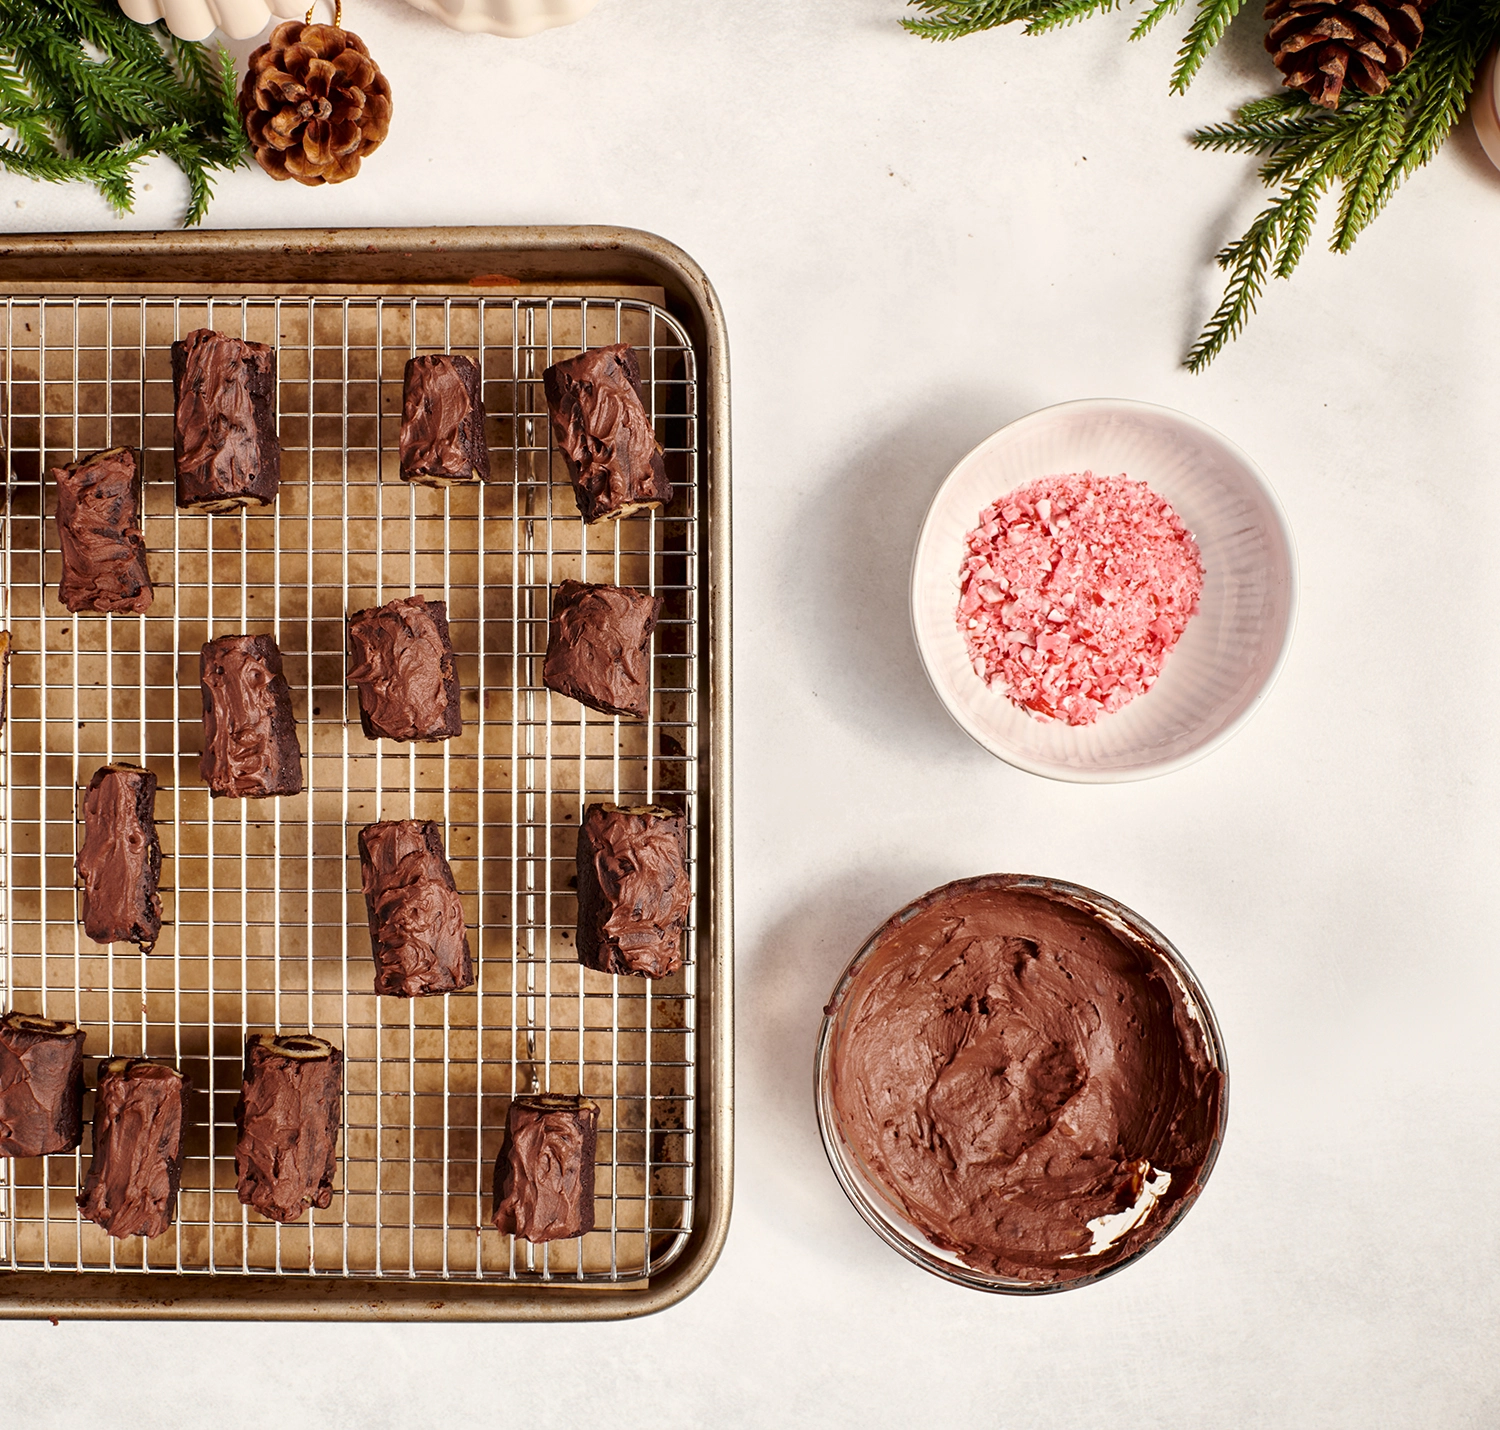
For the frosting, warm cream with a touch of peppermint and pour it over dark chocolate to create a silky ganache. Whisk in butter for a glossy finish. Dip the tops of the cooled cookies into the frosting, let it set, then drag the tines of a fork across the surface to mimic the look of tree bark. Sprinkle with crushed peppermint for a festive touch.